Binding your quilt

Once you've completed your quilt, you will want to finish the edges of your quilt.
What you need to get started
- Sewing machine
- Quilt
- Fabric strips long enough to go all around the edges of your quilt
- Marking pen or pencil
- Ruler
How to bind your quilt - the basics
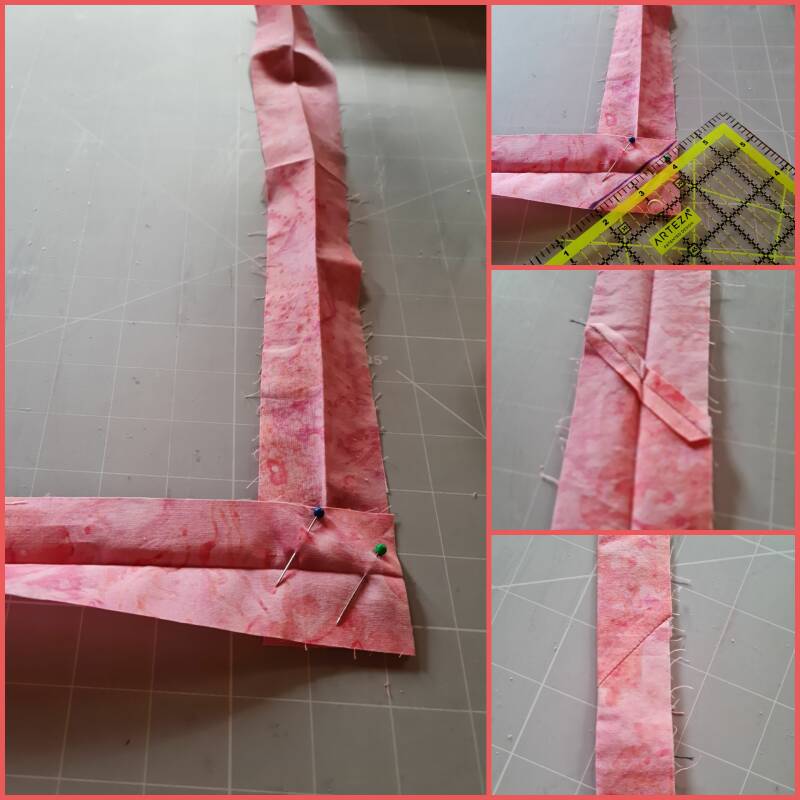
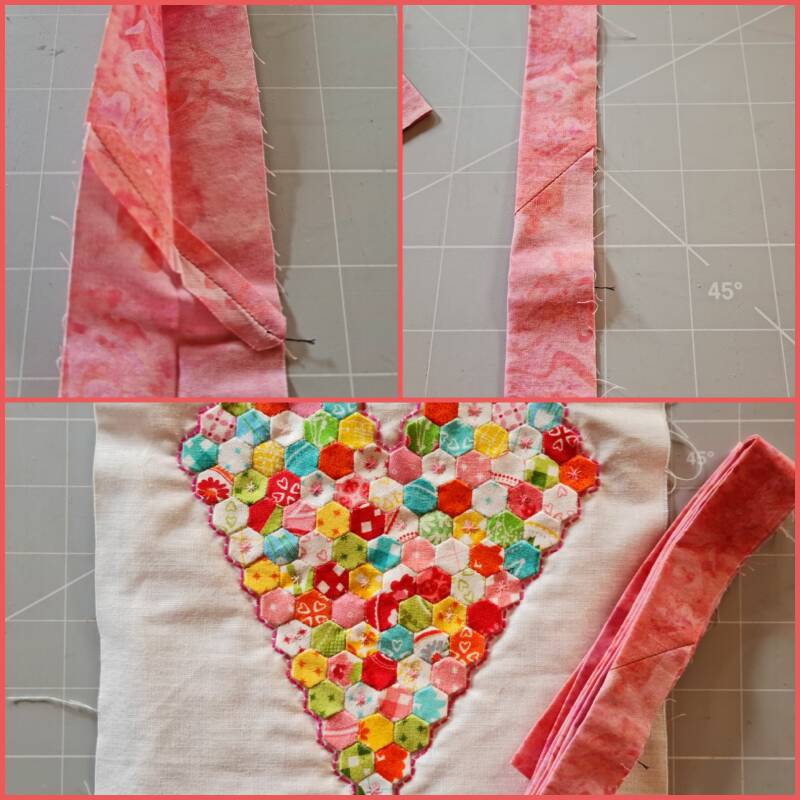
1. Cut a long strip of fabric to go around the edges of your quilt. The width of the strip can be 2 1/4 - 2 1/2 inches. This width works well for most quilts but it can vary according to the size of your quilt or personal preference. Attach smaller strips together to make one strip long enough to fit all the way around the quilt. Note : Please see my tutorial which explains in more detail how to attach the binding strips together, mitre the corners and have a neat finish.
2. Press your binding strip in half so that the right sides are facing out.
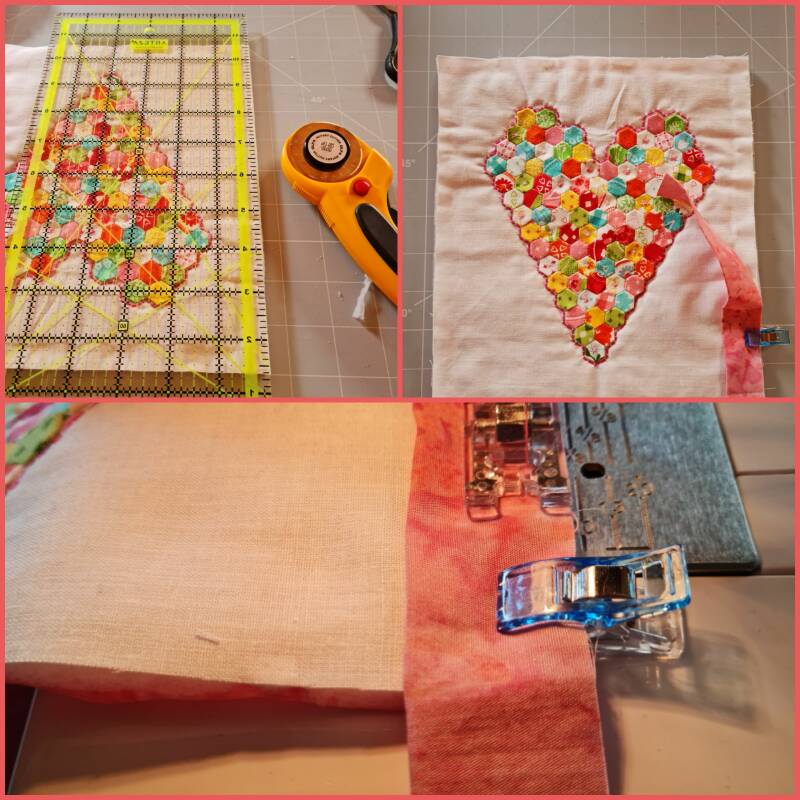
3. To machine quilt your binding, work from the back side of your quilt to start off with. Start in the centre of one of the edges of the quilt. Attach your binding to the quilt with pins or clips and start stitching about three inches down from one end of your binding strip and sew it with a 1/4 inch seam.
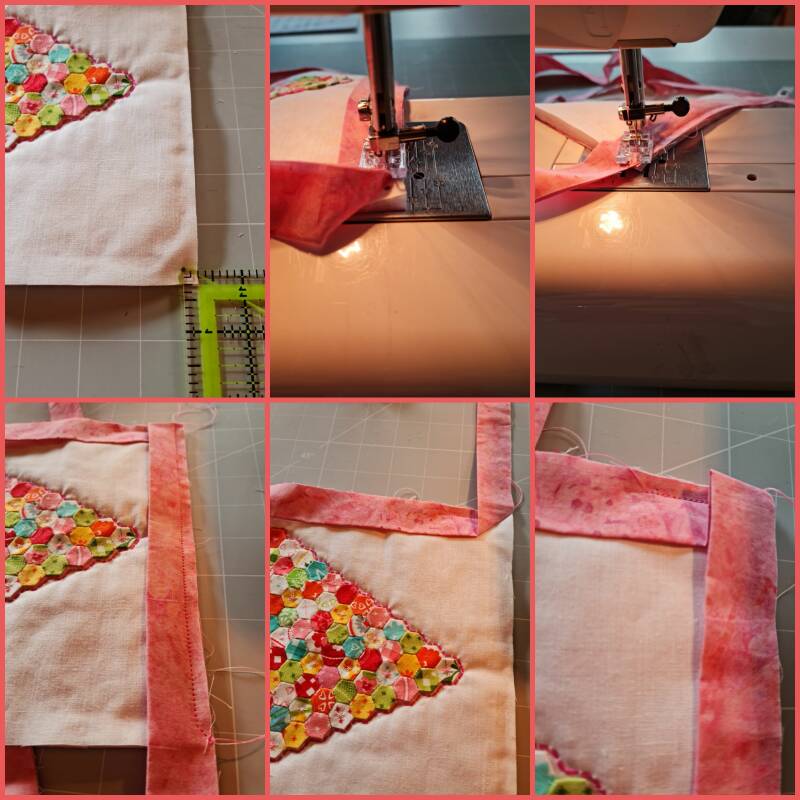
4. At the corners, you need to stop a 1/4 of an inch from the end sewing to that point, stop and then pivot your fabric and sew right off into the corner sewing a diagonal line. Press the fabric over itself and line it up again on the raw edge to start sewing the next side. Ensure you get a nice fold in the corner and then start stitching again and work till you get to the next corner and repeat until all 4 corners have been sewn.
5.Make sure that both your ends are still loose - don't stitch too far. Leave enough fabric from both ends to mitre the two ends together and then sew down onto the quilt. To do this you need to ensure that the two left over tails overlap one another by the same width of your binding strip. So for example, if your binding strip is 2 1/4 inches the ends need to overlap by 2 1/4 inches. Trim as necessary, measure and cut accordingly. Mitre the two ends as you did before when joining your small strips together. Once the two ends are mitred, press and lay in place against the remaining raw edge of your quilt and sew. It should fit perfectly!
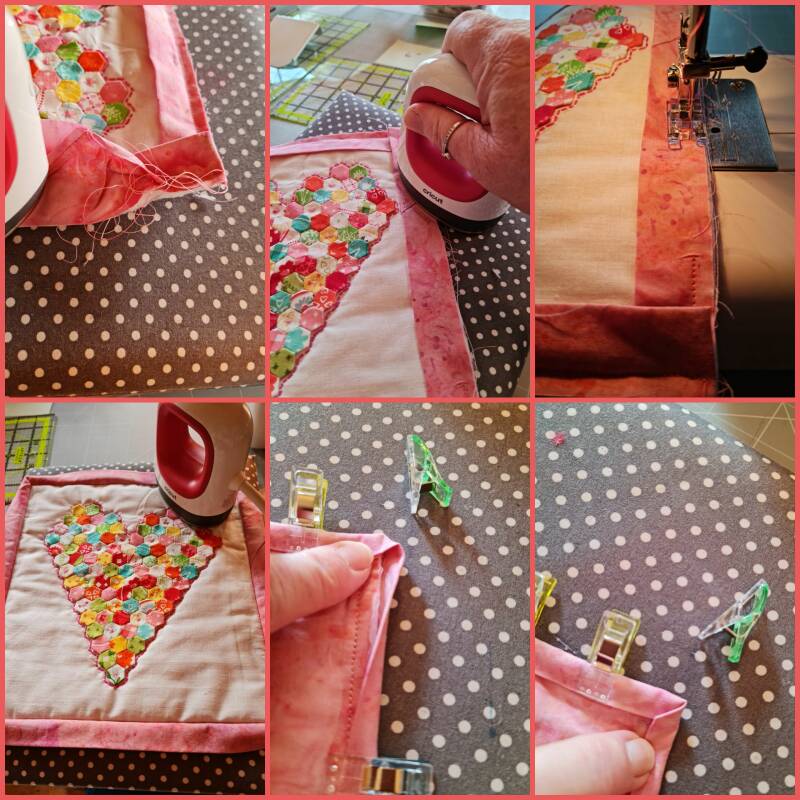
6. Trim off any snippets of fabric or thread, then turn your binding over towards the front side of your quilt, also turning your corners out. Make sure you press using your iron so that the binding edges are nice and flat , making it easier to sew down the binding onto the front of your quilt.
Use binding clips to hold the binding in place and sew binding to the front of your quilt. You can use a straight machine stitch or a decorative stitch - the choice is yours!
Note: An alternative to attaching your binding to your quilt totally by machine is to attach it on the front side with a machine, press and then fold the binding towards the back of the quilt and hand sew the binding into place using tiny stitches catching the batting, binding and coming up on the fold of the binding.
