What is foundation paper piecing
Foundation paper piecing is a method of sewing quilt pieces together, sewing through a paper pattern with the paper upwards and the fabric positioned underneath. There are lines and numbers on the paper pattern. The lines are the seam lines and the numbers tell you the order in which you should sew each piece.
Letters are used when a pattern is sewn in sections. The sections are sewn separately and then sewn together to form a block. When the sewing is finished, the paper can then be removed.
Foundation paper piecing is a great technique. It seems a little odd at first but once you get how to do it, you'll love it for its accuracy. It's also really good for using up your scrap fabric!
Equipment needed for foundation paper piecing
- Fabric pieces
- Paper pattern can be drawn, printed (on A4 paper) or traced.
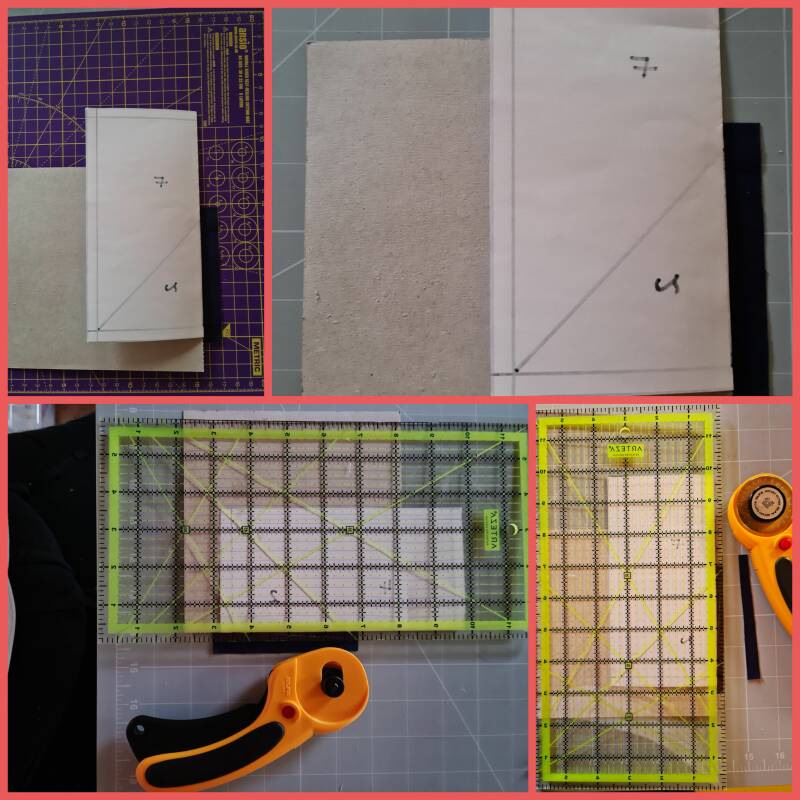
- A piece of card - this is useful to press into the fold of the template to line your add a 1/4 ruler against.
- Optional - Foundation paper - available from quilting stockists - transparent for easy fabric positioning
- Optional - fabric glue stick or pritt stick - useful for positioning the first piece of fabric onto the reverse side of the paper
- Pins - alternative to glue stick
- Thread - an all purpose polyester thread is good. It needs to be strong enough when paper is torn away.
- Rotary cutter
- Self healing cutting mat
- Paper scissors
- Quilting ruler
- add a 1/4 inch ruler - use for an easy and safe way to trim your seams accurately as you sew.
- Iron and ironing board
How to do foundation paper piecing
1.The first step is to copy or print your foundation paper piecing pattern.. You can use printer paper or use specific foundation paper. Foundation paper is a thinner paper which is easier to see through and remove after finishing the block.
After copying or printing your pattern, always check that the pattern has copied or printed to the correct size.
2.Cut around the edge of the pattern and then choose your fabrics.
3. Adjust the settings on your sewing machine to a shorter stitch length (approx 15 stitches per inch).
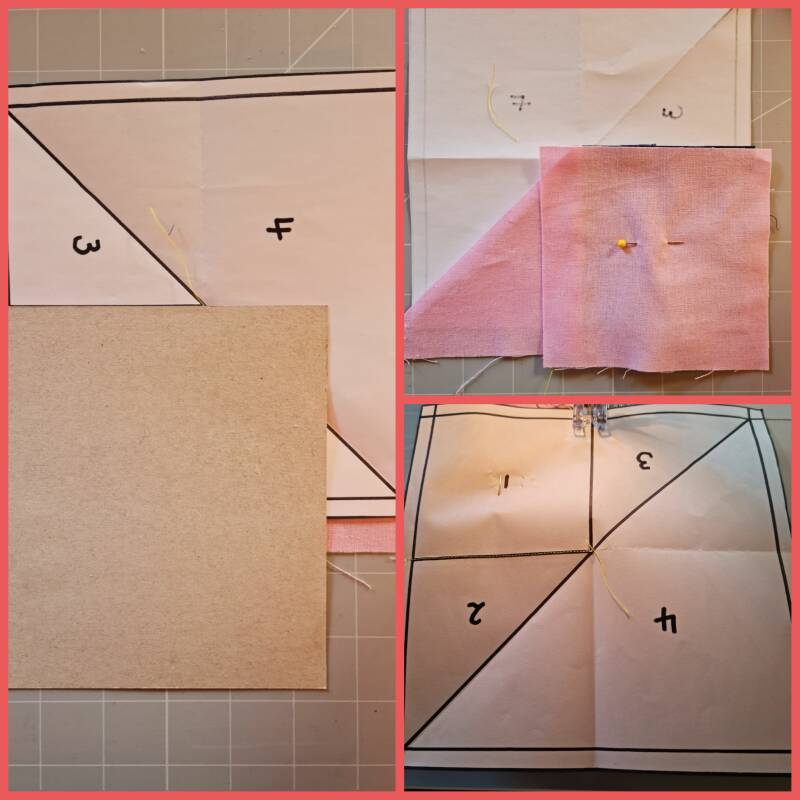
4. Start with the right side of the fabric facing the table. Lay the paper pattern on top of that fabric so that the number 1 piece is entirely covered by the fabric behind it, leaving some excess fabric around the edge. Pin or glue that fabric into place for piece 1.
Now move onto piece 2. First though you need to trim the excess fabric to give a seam allowance. Get your piece of card and lay it along the line between piece 1 and piece 2 and fold the paper back along the line. Then use your rotary cutter to cut the 1/4 inch seam allowance along that line using the ruler as a guide.
I designed this 6" block which is an easy pattern for a beginner who's new to foundation paper piecing.
Tip: hold your paper pattern and fabric up to the light with the paper facing you so you can see the fabric edges through the paper and then pin your fabric in place.
Use a ruler to trim your fabric edge to a 1/4 inch.
5. Now choose your fabric for the second piece.
Note: for every piece after the first one, you need to lay your fabric with the right side facing upwards. So you need to lay your fabric for piece number two on the table with the right side facing upwards. Take your pattern. Fold it back along the folded line that you just made and line up the seam allowance you cut with the edge of the new fabric (fabric piece number two). Hold the pattern with the fabric pieced to the light (a window or even the light from your sewing machine) to ensure the fabric underneath is covering the whole of piece two with some excess. Open the paper back out and sew on the line between one and two holding the pieces in place with a pin and sew a couple of millimetres either side of the line to give you a stronger seam.
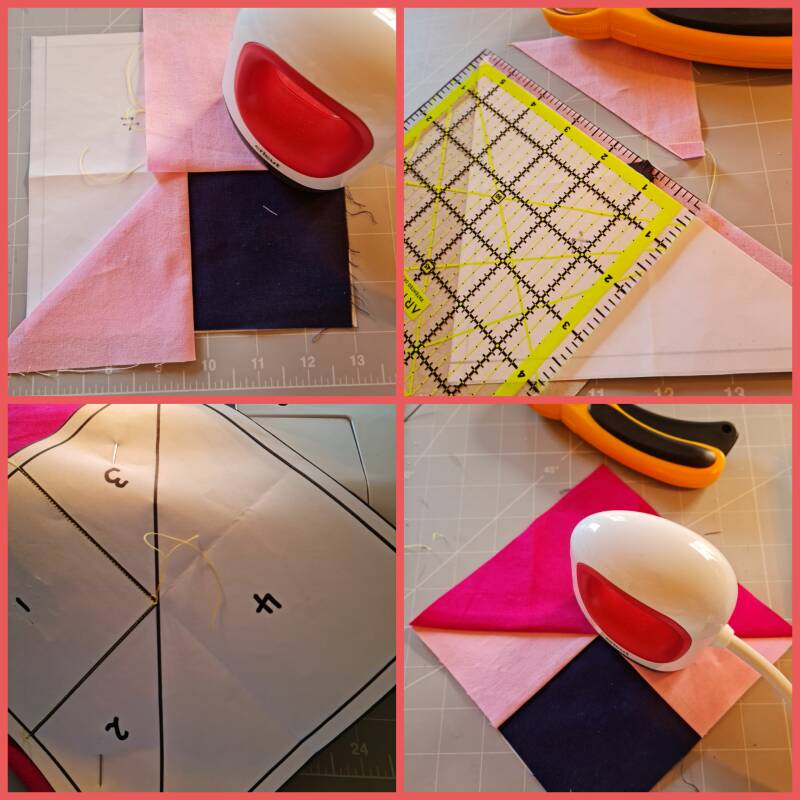
Fold out the second piece of fabric from the first one and iron the seam flat. Now move onto piece number three. Remove excess fabric along the line where piece three joins the rest. Lay the card on this line and fold the paper back. Cut the 1/4 inch seam allowance using the ruler and complete piece number 3 as you did for piece number two.
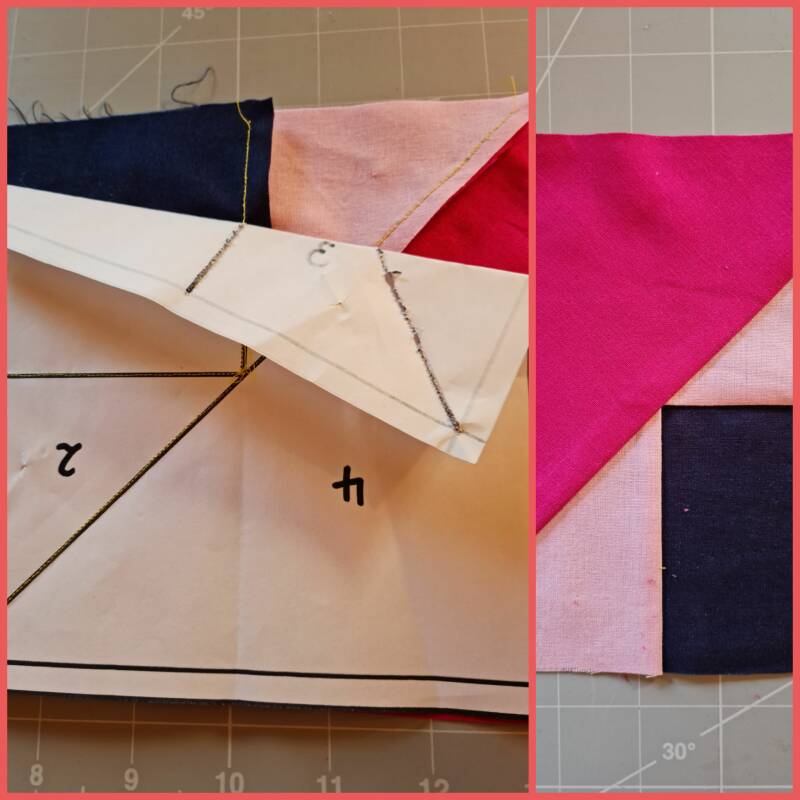
6. Carry on until all pieces have been sewn into position. After you have sewn and pressed your last piece , trim your work to give a neat finish cutting along the side edges using your add a 1/4" ruler allowing for a 1/4 inch seam allowance.
Press your fabric pieces with an iron as you go.
7. Remove the paper tearing it away bit by bit.
After the paper is removed, press your block with an iron and trim if necessary.
Note: You can design your own foundation paper pieced patterns.
Think about the shape you want to draw and the measurements. As you begin to draw your pieces the second piece has to be even with the edges of the first but it can be as wide as you want. You can then add your next piece onto the other side or keep going around in a spiral. You need to make sure you have all straight lines, no curves as each piece has to be equal with the edge it sits up against. When you have finished drawing your design you might want to add a 1/4" seam allowance all around the edge if it's going to be made into a quilt.
Label all your pieces in the order that you drew them and you will sew them in this order.


